Three iPhone
Cinematography Tips for
Beginner Filmmakers
Learn how to achieve cinematic look with your iPhone!
Admit it. You've been bit by the filmmaking bug and all you have is your iPhone or smartphone.
This is GREAT news! You have everything at your fingertips to get started.
And even better news, there are some tricks you can use that will make your iPhone footage look truly gorgeous and cinematic.
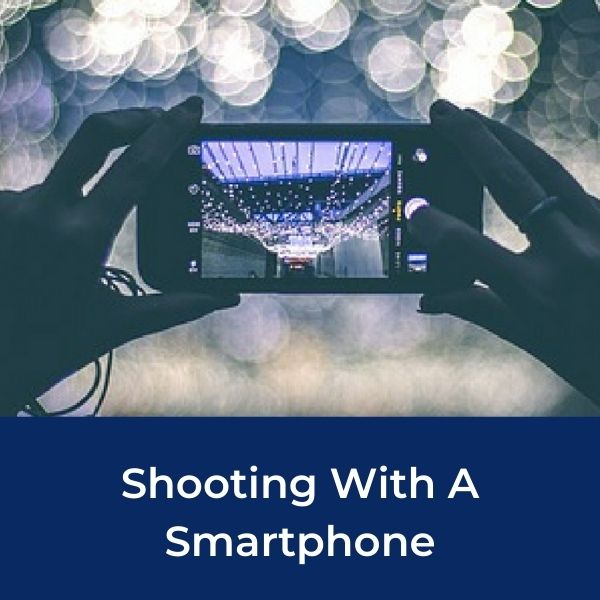
Learn How To Maximize Smartphone Video For Your Documentary
iPhone filmmaker Eric Thayne shares three beginner tips that will improve your cinematography on any smartphone, including iPhone X, iPhone 8, and iPhone 7 Plus, and Android phones like the Samsung S9, LG V30, and Google Pixel 2.
Learn How To Make A Documentary
TIP #1: Use a Filmmaking App
Shoot with an app that allows for more camera control.
There are several filmmaking apps out there that stand out. Among them are MoviePro, Mavis, Procam, and Moment. In the video above, Eric shares his set up process with the app Filmic Pro.
Filmic Pro gives you manual control over all of your settings. This means you can adjust your ISO, aperture and shutter speed to your desired settings.
For those who aren't aware, ISO, aperture and shutter speed are the three ways that all cameras use to capture light. Having control over these basic functions is a critical first step in gaining control over how your footage looks.
Filmic Pro doesn't stop at exposure control. The app also gives you control over your white balance, focal points, resolution, frame rate as well as color correction and a host of other image altering options.
Follow along with Eric in the video above to see how he uses Filmic Pro on his iPhone.
And watch some sample footage below shot by Matteo Bertoli Visuals with the iPhone XS Max 4K and Filmic Pro.
Shot by Matteo Bertoli Visuals. See Matteo's favorite gear
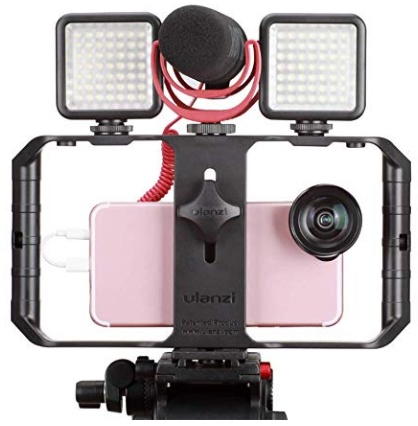
TIP #2: Use a Stabilizer
You know bad video when you see it. One of the first signs of a poorly executed shot is a shaky image. You've seen those handheld shots that make your eyes jerk around the screen. They're hard to watch.
Using a three-axis gimble will eliminate those shaky shots and give you smooth footage that looks like it was shot with the support of a team of people.
There are three popular gimbals that are well thought of by iPhone and smartphone filmmakers. One is the DJ Osmo Mobile. Another well-received gimbal for iPhones is the Zhiyun Smooth Q. Another gimbal worth looking at is the Freefly Movi.
Don't make your videos hard to watch. For less than a few hundred dollars you can take your iPhone video to the next level.

TIP #3: Color Correct Your Footage
The final tip for achieving a cinematic look with your iPhone is an important one:
Color grade and color correct your footage.
Color grading involves adding an artistic flare to your video.
Color correction is ensuring that whites are white and all the colors look as they should.
This is the part of the process where you can add color adjusting filters to your footage. Or, if you really want to make your footage your own, you can manually edit your video footage to add, remove or change colors.
You can also manually edit your darkness and brightness settings and contrast to the needs you have.
To do color correction and color grading properly use a video editing program like Final Cut X or Premier Pro.
Every film goes through color correction and color grading. Maintaining a consistent white balance and exposure for every shot requires time and effort that easily pays for itself in the final product.
Looking for More?
Looking for more ways to make the most of your iPhone or smartphone videos?
And, in case you're looking for something a little different.
Recommended For You:


Ready To Make Your Dream Documentary?
Sign up for our exclusive 7-day crash course and learn step-by-step how to make a documentary from idea to completed movie!


HOT!
Low-Budget
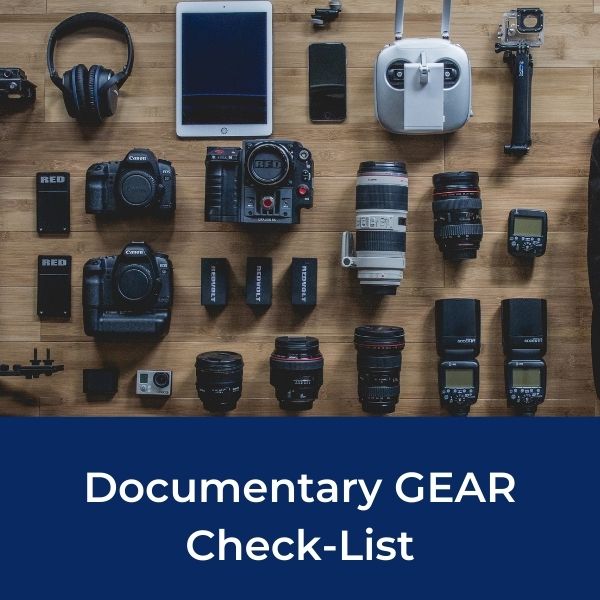
Documentary Gear

KraftGeek JustTap Magnetic Tripod


What People Are Saying
Desktop Documentaries
Comments
I just wanted to say that I think your website is amazing . I am a beginner with an idea, and the info and articles on your website are easy to understand and answer many questions I have. I can not wait to start filming!
- Sarah (Sydney, Australia)
I am a professional filmmaker, and I applaud this site for detailing the ABC's of documentary filmmaking. It serves as my own checklist as I continue making my own movies ... Thanks!
- Sabrina Aviles - Boston, Mass.