DSLR Audio | Rigging Up A DSLR Camera To Capture Pro Audio

A lot of filmmakers have chosen to shoot their films and documentaries with DSLR cameras. (We use the Canon 60D) It's understandable because DSLR cameras can capture beautiful shots for significantly less cost than a comparable video camera.
The catch with using DSLR cameras for filmmaking is the lack of a good audio system.
Because the DSLR cameras only have a mini-jack audio input, you have some decisions to make. You can actually get "decent" audio by plugging a mic directly into the camera. It's better than nothing, but not considered "professional."
You can see in the photo above a mini cable coming out of the Zoom H4n into the camera --- that's simply a back-up to record audio on both the Zoom and the camera.
To get "professional" audio, you really want to have a direct XLR cable connection from a high quality mic, such as the (expensive but popular) broadcast quality Sennheiser MKH 416 Shotgun mic, into a separate recording device, such as the Zoom H4n Portable Digital Recorder or Tascam DR100 Mark II. The only problem with that option is that you'll have to sync up the audio in editing and you've got to deal with a detached recording device which is a pain if you're a one-person-crew.
The next best thing to using an external recording device is to rig up your DSLR and bring audio directly into the camera through the mini-jack input. One way to do that is by using a preamp or "XLR Box" like the BeachTek DXA-5Da (shown below).
One advantage of using an XLR Box is that it "cancels out" the Automatic Gain Control (AGC) that is built into most DSLRs. AGC is a feature that automatically turns up the volume when the sound is super quiet and automatically turns it down if that sound is super loud (such as at a concert or during a super windy day). That's all fine and good except that in a super quiet environment, the audio may automatically adjust up and create a hissing sound. AGC basically creates an unbalanced audio track that can be tough to fix in post. So what the XLR adapter does is disables or "cancels out" this AGC feature and gives you, the filmmaker, all the control over the sound instead of letting the camera do it.

BeachTek DXA-5Da Passive Dual XLR Audio Adapter
for DSLR Camcorders with Mic Jack
DSLR Audio | Three Options
So your three options are:
- Capture professional audio separately with
something like the Zoom H4n Portable Digital Recorder or Tascam DR100 Mark II. You'll have to sync audio in post production (editing), but it's pretty easy with some third party software such as PluralEyes or even Final Cut X.
- Connect your high quality mic directly to your DSLR using an XLR adapter/preamp, something like the BeachTek DXA-5Da XLR Audio Adapter or juicedLink RA333 Preamp. This "XLR Box" offers several advantages including: a headphone jack (older model DSLRs lack a headphone input), audio meter to monitor the sound, multiple XLR inputs, phantom power for mics that don't have their own power source and control/ability to disable the DSLR's internal audio gain control.
- Connect the mic directly into camera
through the DSLR's mini-jack input. One popular choice among filmmakers is the Rode VideoMic Pro. If you use a microphone with an XLR output, something like the Sennheiser EW 112P wireless mic (what we use), you'll need to get an XLR to mini-jack converter. We've tested this method with our Canon EOS 60D and the audio actually sounds pretty good, especially if the end product is for web only.
One of the big advantages you get with using an external recording device or a preamp is the ability to monitor and manually adjust your sound, something you can't do when you just stick the mic straight into the camera. Although one work-around to monitoring audio is with Magic Lantern, a free hack software. Magic Lantern also allows you to disable the AGC feature mentioned above. Unfortunately, Magic Lantern is only available for Canon cameras.
As with everything in filmmaking, the story, budget and final "end-use" dictates the tools you use.
Jim Karnik's Canon 7d DSLR Rig
Gear shown in this video: Canon 7D, Zacuto viewfinder, Zacuto Gorilla Plate, BeachTek DXA-SLR, AT875R Short Shotgun (with lightwave shock mount, no longer available), Sony URX series Diversity wireless mic,
Right angle XLRs for shotgun and wireless.
Easy Audio for DSLR: How To Get Good Sound with DSLR Video Cameras!
Gear mentioned in this video: Zoom H4n, Rode VideoMic Pro,
IK Multimedia iRig Pre, Rode SmartLav Lavalier Mic, izotope RX2 Audio Restoration Software, Rode NTG2 Shotgun Microphone
Filmmaking 101 | How To Record High Quality Audio On A Budget
Gear mentioned or used in this video: Zoom H4n, Rode NTG-2 Shotgun Mic, XLR cable, Pearstone Clapboard, Rode Micro Boompole.
Additional Resources
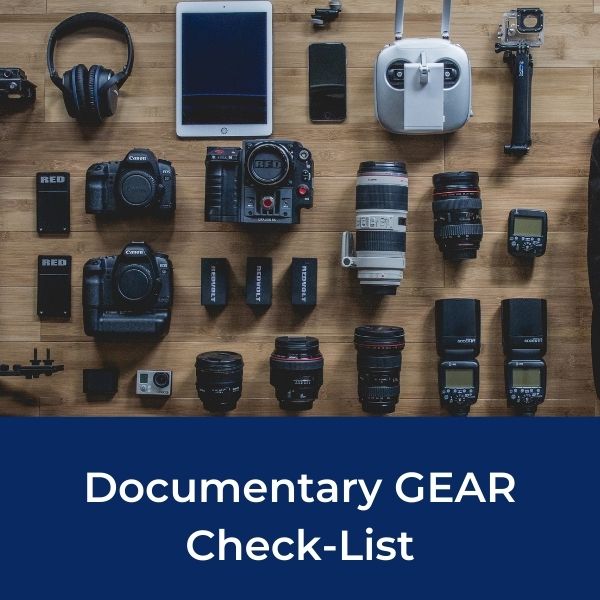
For a full list of video production equipment choices for budget doc filmmaking, see our filmmaking gear check-list.
Or to learn more about shooting video and audio with a DSLR camera, visit our sister site at picture-power.com.
I hope that helps clarify your choices for DSLR audio. If you have any comments or feedback about this topic, please share below in the comment section. Thanks!
Comments/Feedback
"No mention of the sound devices mix pre d. Film quality mixer with several outputs. One 2 channel direct to camera. One 2 channel to separate recorder. Two to xlr inputs. Phantom mic power. M/S and stereo options. Best preamps.” -- Larry Vaughn/Freelance Video Producer & Sound Mixer
Read Larry's full response and review of the Sound Devices MixPre-D.
Recommended For You
Other Articles You May Enjoy
- How To Survive the Making Of A Documentary
- DSLR Audio | MixPre-D (2 Channel Mixer) Review
- Zoom H5 vs. Zoom H4n | Digital Audio Recorders Compared

Ready To Make Your Dream Documentary?
Sign up for our exclusive 7-day crash course and learn step-by-step how to make a documentary from idea to completed movie!


HOT!
Low-Budget
Documentary Gear

KraftGeek JustTap Magnetic Tripod


What People Are Saying
Desktop Documentaries
Comments
I just wanted to say that I think your website is amazing . I am a beginner with an idea, and the info and articles on your website are easy to understand and answer many questions I have. I can not wait to start filming!
- Sarah (Sydney, Australia)
I am a professional filmmaker, and I applaud this site for detailing the ABC's of documentary filmmaking. It serves as my own checklist as I continue making my own movies ... Thanks!
- Sabrina Aviles - Boston, Mass.