10 Steps for Cinematic Smartphone Footage
Cinema and smartphone in the same sentence?
You betcha.
These days, smartphone cameras can capture beautiful video. With a few pieces of additional gear, cinema is literally at your fingertips.
Beginner filmmakers - it’s never been easier to get started!
Read on for 10 steps for shooting cinematic smartphone footage:
Thanks to the guys at Full Time Filmmaker for the top tips!
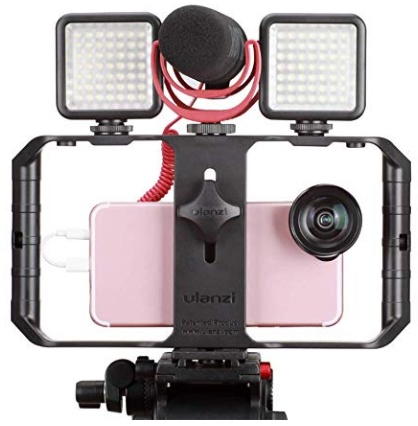
1 - Buy the best smartphone gear
Most of the top smartphones out there are going to deliver comparable results.
BUT, great quality video requires more than just a camera.
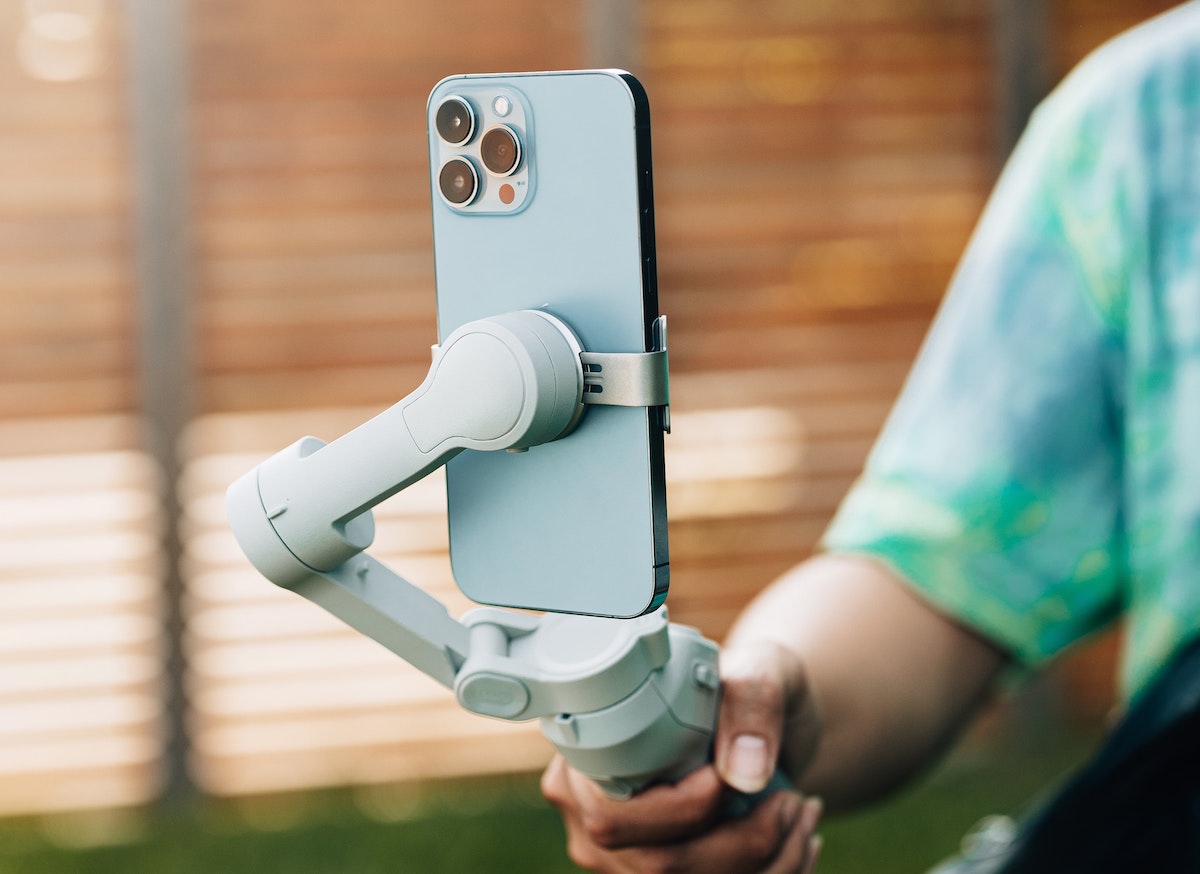
First, get yourself a good stabilizer/gimbal to up the cinema in your shots.
Many filmmakers sing high praises for dji’s Osmo line. At a great price point, these popular gimbals are ready in a few clicks, which is super helpful for spontaneous shoots.
While you’re at it, also consider buying a tripod, a portable battery charger, and an external microphone.
You can usually find all of this gear for under $100!
Smartphone Filmmaking Kits


Next, download a manual camera app.
Some native camera apps allow for basic adjustments like exposure, frames per second, and video quality.
But a manual app will give you consistency and control over your smartphone’s lenses. Moment and Filmic Pro are two filmmaker favorites.
Third, invest in an ND filter. An ND filter will add that cinematic blur to your movements. How?
Neutral Density (ND) filters even out the amount of light entering your camera, making your subject's movements appear smooth.
2 - Choose (and set) your camera settings
Now that you’ve downloaded a manual camera app, set your resolution to 4k.
Higher resolution = higher quality video.
Then, set your frame rate to 24 frames per second (fps).
Hollywood, for example, typically uses 24 fps because it’s most similar to how we see real life! So, keep your frame rate at 24 when shooting in real time.
Other settings you can choose and set in a manual camera app include white balance, ISO, and color grading.
Tip - use natural color settings (no filters) in order to be able to get the most out of your colors in post!
3 - Nail the correct exposure
Your smartphone’s auto exposure is usually a little off.
Here’s a tip - before pressing record, look for any overexposed parts of your shot and direct your exposure tool to that part of the screen to balance things out. This way, you’ll avoid blown out or white patches in your shot.
Remember to lock that exposure so it doesn't auto adjust in the middle of your take!
4 - Steady focus
For the most part, your phone’s native focus will get the job done. But remember to lock your focus when moving with your subject.
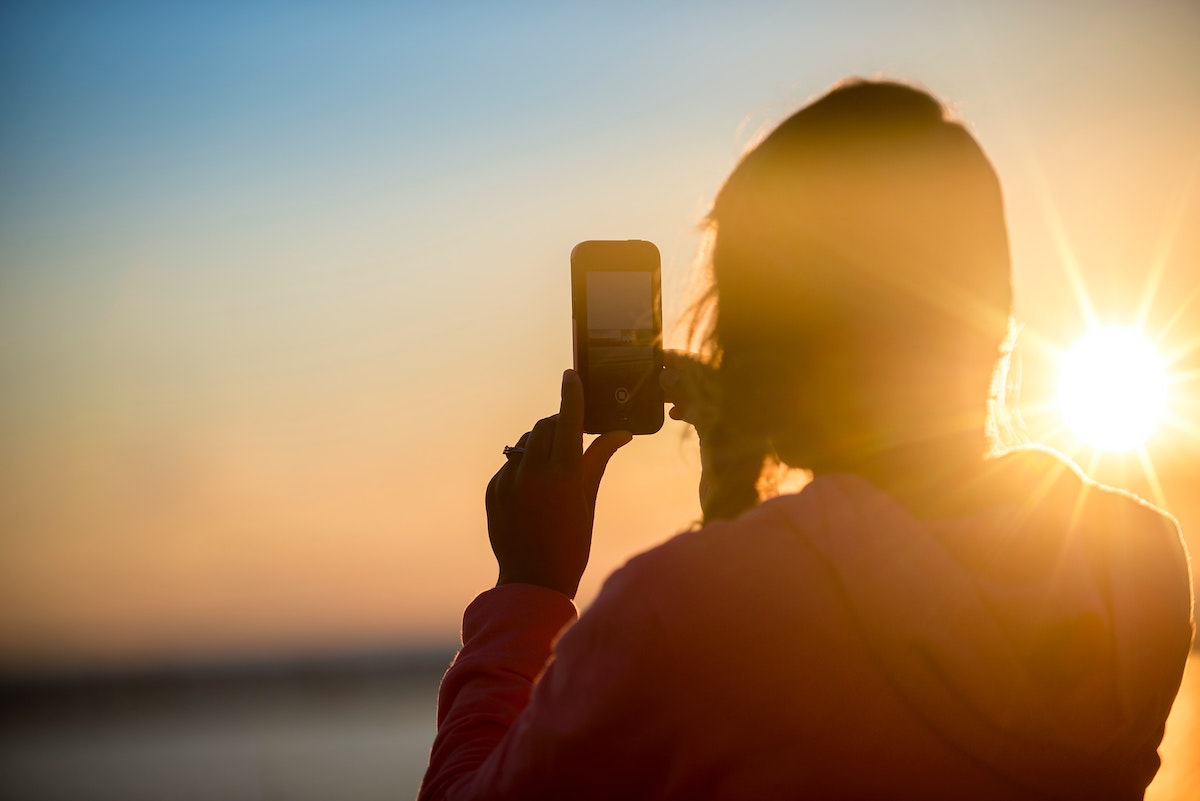
5 - Light right
You can achieve great cinematography with almost any camera… provided you have ideal lighting conditions.
What are ideal lighting conditions?
- The first light and last light of day (golden hour)
- Heavy cloud coverage - gives even light to your shot
If you have to shoot at night, be sure to bring your own light. Check out this one light setup.
6 - Practice cinematic movements
Having a stabilizer/gimbal does not mean that your shots will automatically look cinematic!
Practice holding your phone on a gimbal, practice walking with it, and test out your movements before you shoot your shot.
7 - Study your focal lengths and lens options
Most smartphones have at least two lenses - a standard wide lens and an ultra wide lens. You may also have a telephoto lens (65 mm +).
However, keep in mind that the best lens on your phone is likely to be the standard wide lens. Why? Most smartphone users are using the standard lens, so, any additional lenses are likely to be of lesser quality.
Consider this if you plan on using your smartphone’s non-standard lenses.
If you’re eager to branch out into different focal lengths (ultra wide, telephoto, or 50 mm), buy an attachable lens and attach it to your phone’s standard lens! That will help you get the best possible quality out of the attached lens.
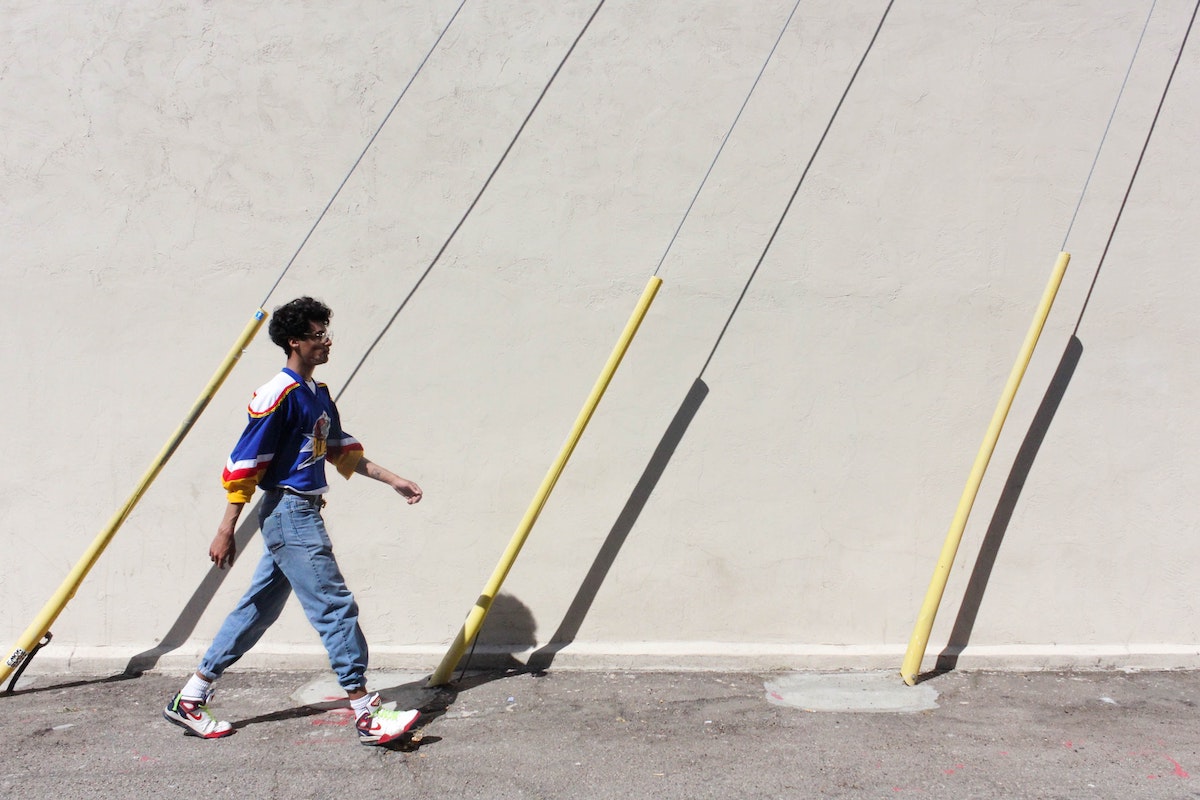
8 - Compose each shot
Fill the frame by using the foreground, the rule of thirds, and leading lines!
Look for literal lines (in architecture for example) or patterns that guide your viewers’ focus where you want it to go.
And instead of zooming in, physically move as close as possible to your subject.
9 - Shoot to edit
Remember, your shots are the pieces of the story, but you’ll be organizing the story in the editing room.
So, plan the emotion of your story!
Shoot with that vision in mind, and give each shot a purpose.
What types of shots do you need in order for your story to make sense?
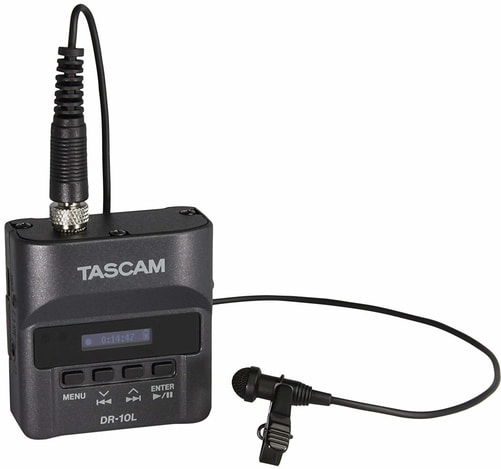
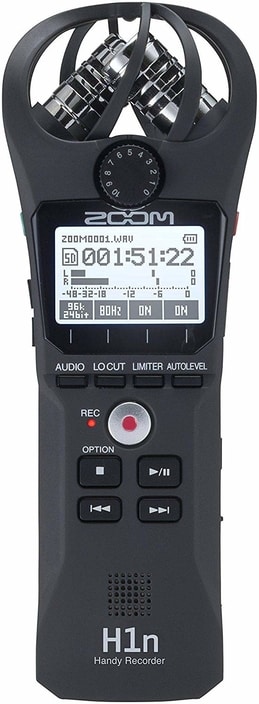
10 - Capture professional audio
Audio is half of the viewing experience!
Most smartphone mics have good enough tech to capture decent sound. However, for interviews and dialogue, you should definitely use an external audio recorder.
Remember to get as close as possible to the source of your sound!
Popular External Audio Recorders

Recommended For You
Ultimate Beginner's Guide To Smartphone Filmmaking
Here's an informative video from Mobile Motion Film Festival for anyone with a smartphone ready to get their hands dirty and begin the filmmaking process.
3 Ways To Shoot B-Roll With Your Smartphone
In documentaries, b-roll footage is often what's shown over the voice of someone speaking. Here are 3 ways to shoot b-roll with your smartphone.
FilmicPro V6 Jump Start Guide for Android
If you have ambitions for cinematic cell phone footage, FilmicPro is a must-have if you want to get the most dynamic range your camera can muster.


Ready To Make Your Dream Documentary?
Sign up for our exclusive 7-day crash course and learn step-by-step how to make a documentary from idea to completed movie!


HOT!
Low-Budget
Documentary Gear

KraftGeek JustTap Magnetic Tripod


What People Are Saying
Desktop Documentaries
Comments
I just wanted to say that I think your website is amazing . I am a beginner with an idea, and the info and articles on your website are easy to understand and answer many questions I have. I can not wait to start filming!
- Sarah (Sydney, Australia)
I am a professional filmmaker, and I applaud this site for detailing the ABC's of documentary filmmaking. It serves as my own checklist as I continue making my own movies ... Thanks!
- Sabrina Aviles - Boston, Mass.